Wednesday, February 23, 2011
Product Photography Tip
As an online seller, one of the most difficult things is getting good photos of the things you are selling. It's also one of the most important things, because one can't just stop in your store and pick up and examine your item. So they need to be able to see it well in the photograph. One of the things that I have had trouble with is that my photos turn out too dark. Did I mention what a total photography dweeb I am? I just know how to aim and push the button. I have learned a thing or two in the last couple of years. But for now I am going to give you a tip about exposure compensation. I take my pictures in the daytime in my laundry room because there is a window on each side of the (very small) room, so plenty of natural light. Even though it is very light in my chosen spot I was still getting a grey background when I was actually shooting on white posterboard. Anyway I have been playing around with my camera menu and decided to try adjusting the exposure compensation. The difference this makes is pretty amazing. (If you are a photography guru who just happened to be stopping by my blog please ignore my ignorance.) So on my camera (which is nothing fancy) at the bottom of the screen there is a little 0.0. That is where I can adjust exposure compensation. Mine is usually 0.0 which doesn't give me the brightest photos. All you need to do is play around with where it looks good. Take a few pictures at different levels and see where it looks the most normal. I notice that some things I am photographing need a different setting than others even in the same place with the same background. Below is the difference I get when adjusting my exposure compensation. I also use Picnik to edit my photos. Although these photos have not been edited . Another place I have found great product photography articles is Handmadeology.com So there you have it. You don't have to be a pro to get better pictures. It's a matter of trying different things and a little work. You can be a complete photography dweeb and get brighter pictures.
Labels:
camera,
etsy,
exposure compensation,
online selling,
product photography
Monday, February 21, 2011
A New Sewing Machine
I am back to sewing. A couple of weeks ago I posted that my sewing machine broke. Well, I got a brand new sewing machine. It's my first ever that I actually got new and for myself. It's not expensive or fancy, but it does more than any previous machine I have had. I haven't got to use it as much as I've wanted to yet, but I did manage to get a couple of these writslets sewn and in my Etsy shop.
The weather has also warmed up around here a bit, so it's got me thinking of spring and gardening. I am going to work on some new projects in line with spring and gardening. Of course, I'll share them when I get them ready.
The weather has also warmed up around here a bit, so it's got me thinking of spring and gardening. I am going to work on some new projects in line with spring and gardening. Of course, I'll share them when I get them ready.
Labels:
etsy,
gardening,
sewing machine,
spring,
wristlet
Thursday, February 3, 2011
Finally Friday!
It's finally Friday. It has been a long, icy week here in Indy. And apparently it's not getting better anytime soon. My sewing machine also broke this week, so I will be resorting to using an I don't know how old machine that was given to me years ago. It has one stitch. Straight. No zippers, no button holes. So I guess I will just sew some things that require no special stitches until I get a new machine, hopefully in the next two weeks.
I also wanted to let you know about a giveaway I'm sponsoring over on Facebook. I am giving away this cute little wristlet. There are other sponsors giving away some goodies too. Just go to the first photo in her first album to find the entry requirements. I will have these wristlets in various sizes in my Etsy shop after I get a new machine.
I also wanted to let you know about a giveaway I'm sponsoring over on Facebook. I am giving away this cute little wristlet. There are other sponsors giving away some goodies too. Just go to the first photo in her first album to find the entry requirements. I will have these wristlets in various sizes in my Etsy shop after I get a new machine.
Thursday, January 27, 2011
'Shades of Purple (ish) HMET treasury chain game' by NaturallyComfy
Great shades of purple from the Handmadeology team.
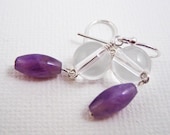 Amethyst & Quartz S... $21.00 |
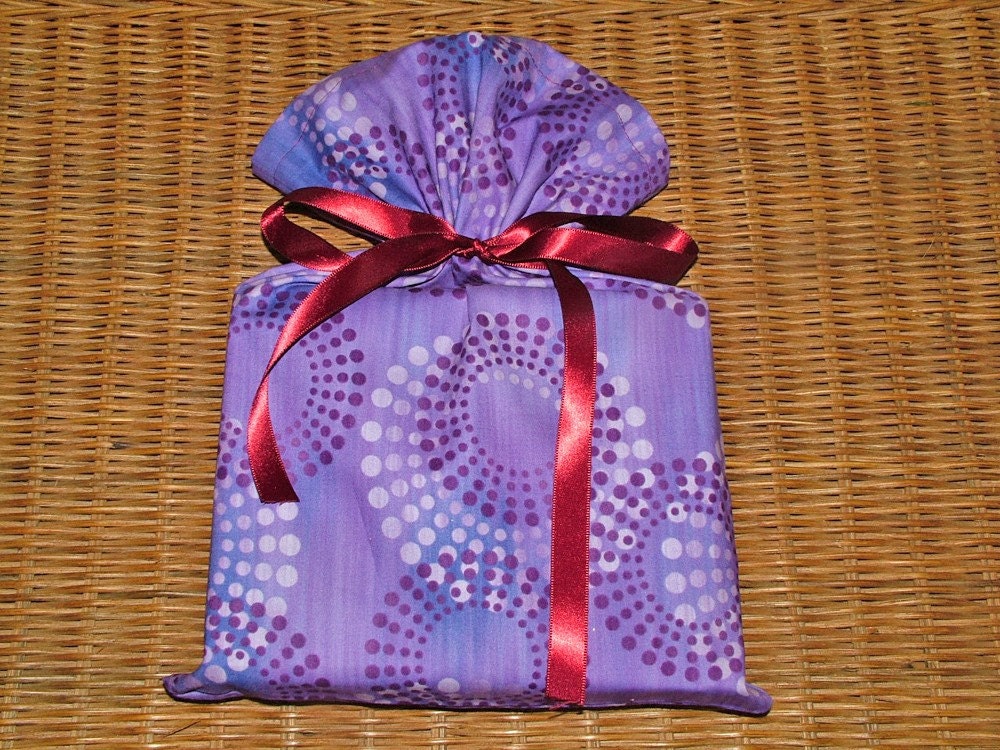 Reusable Fabric Gif... $7.00 |
 pair of miniature n... $30.00 |
 Earrings-Amethyst, ... $26.00 |
 Snowman Lumpy Folk ... $22.00 |
 Though Cold Winds B... $68.00 |
 Romantic Rosy Ameth... $21.00 |
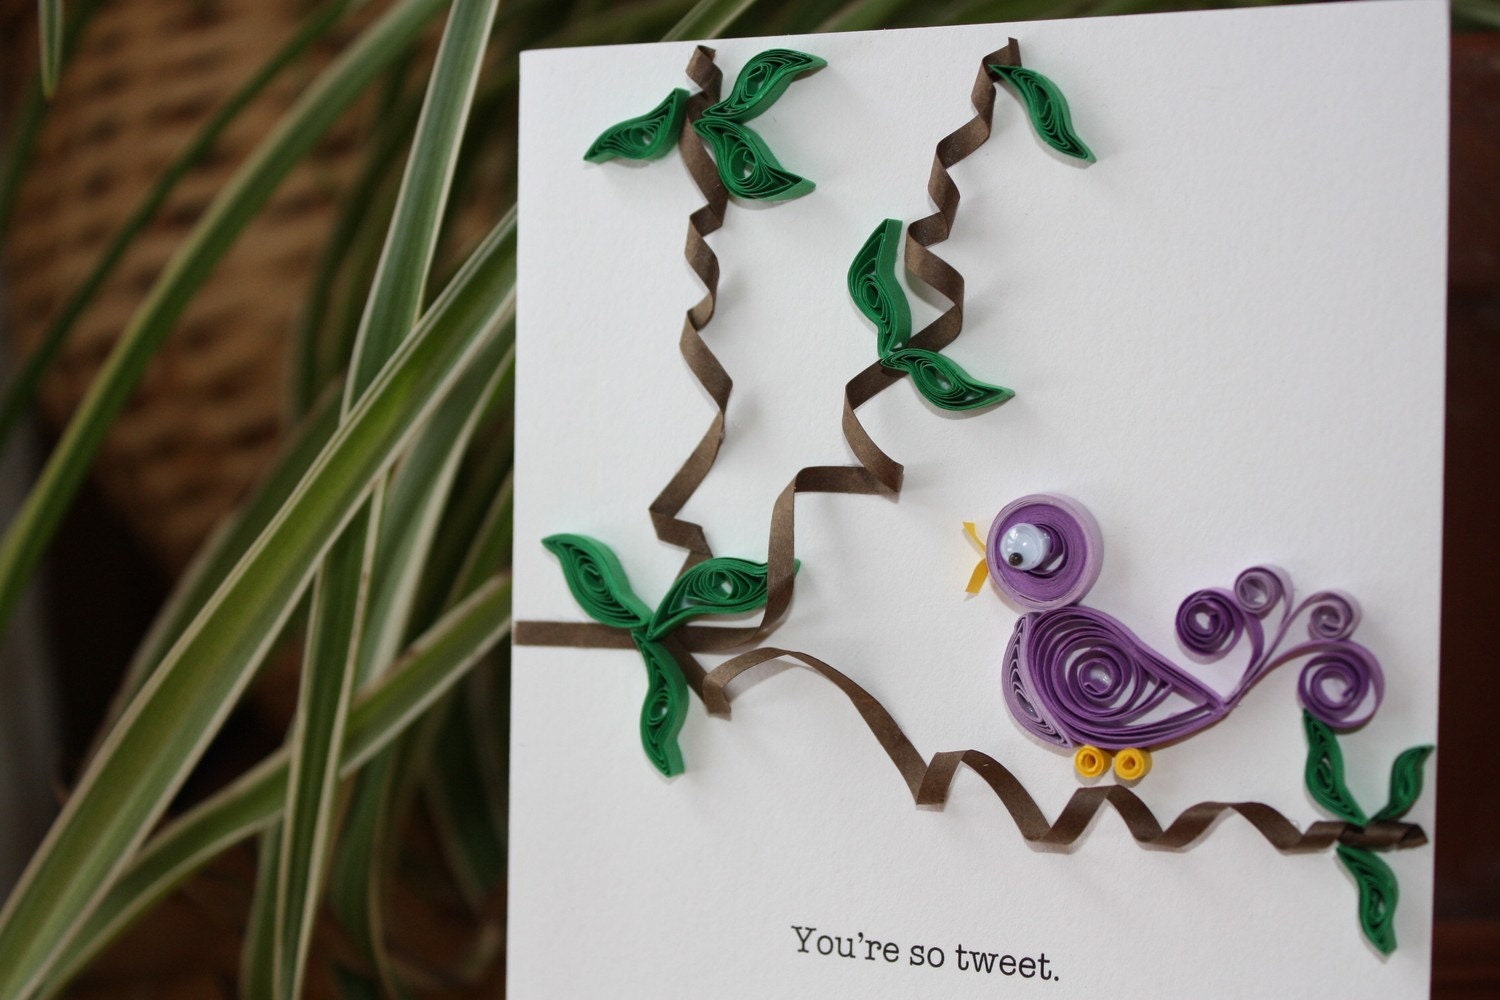 You're so Tweet... $8.00 |
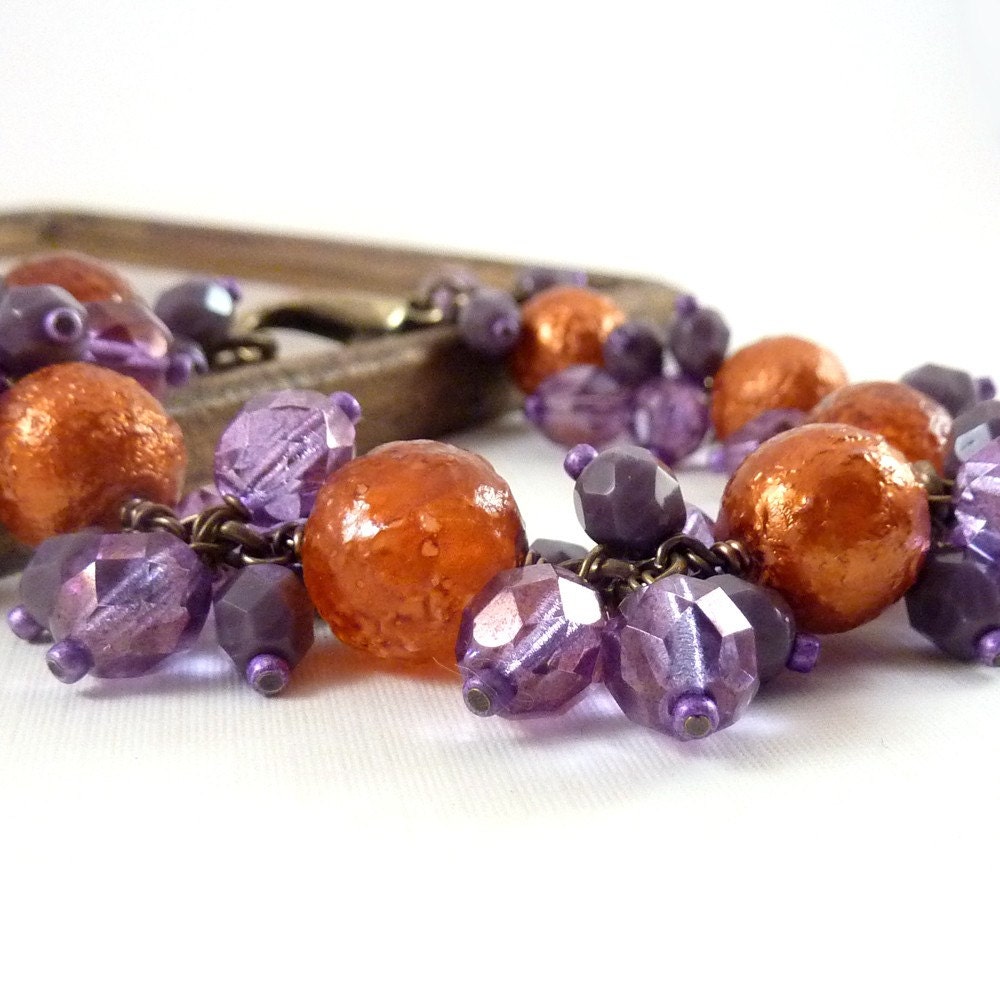 Orange Purple Bold ... $38.00 |
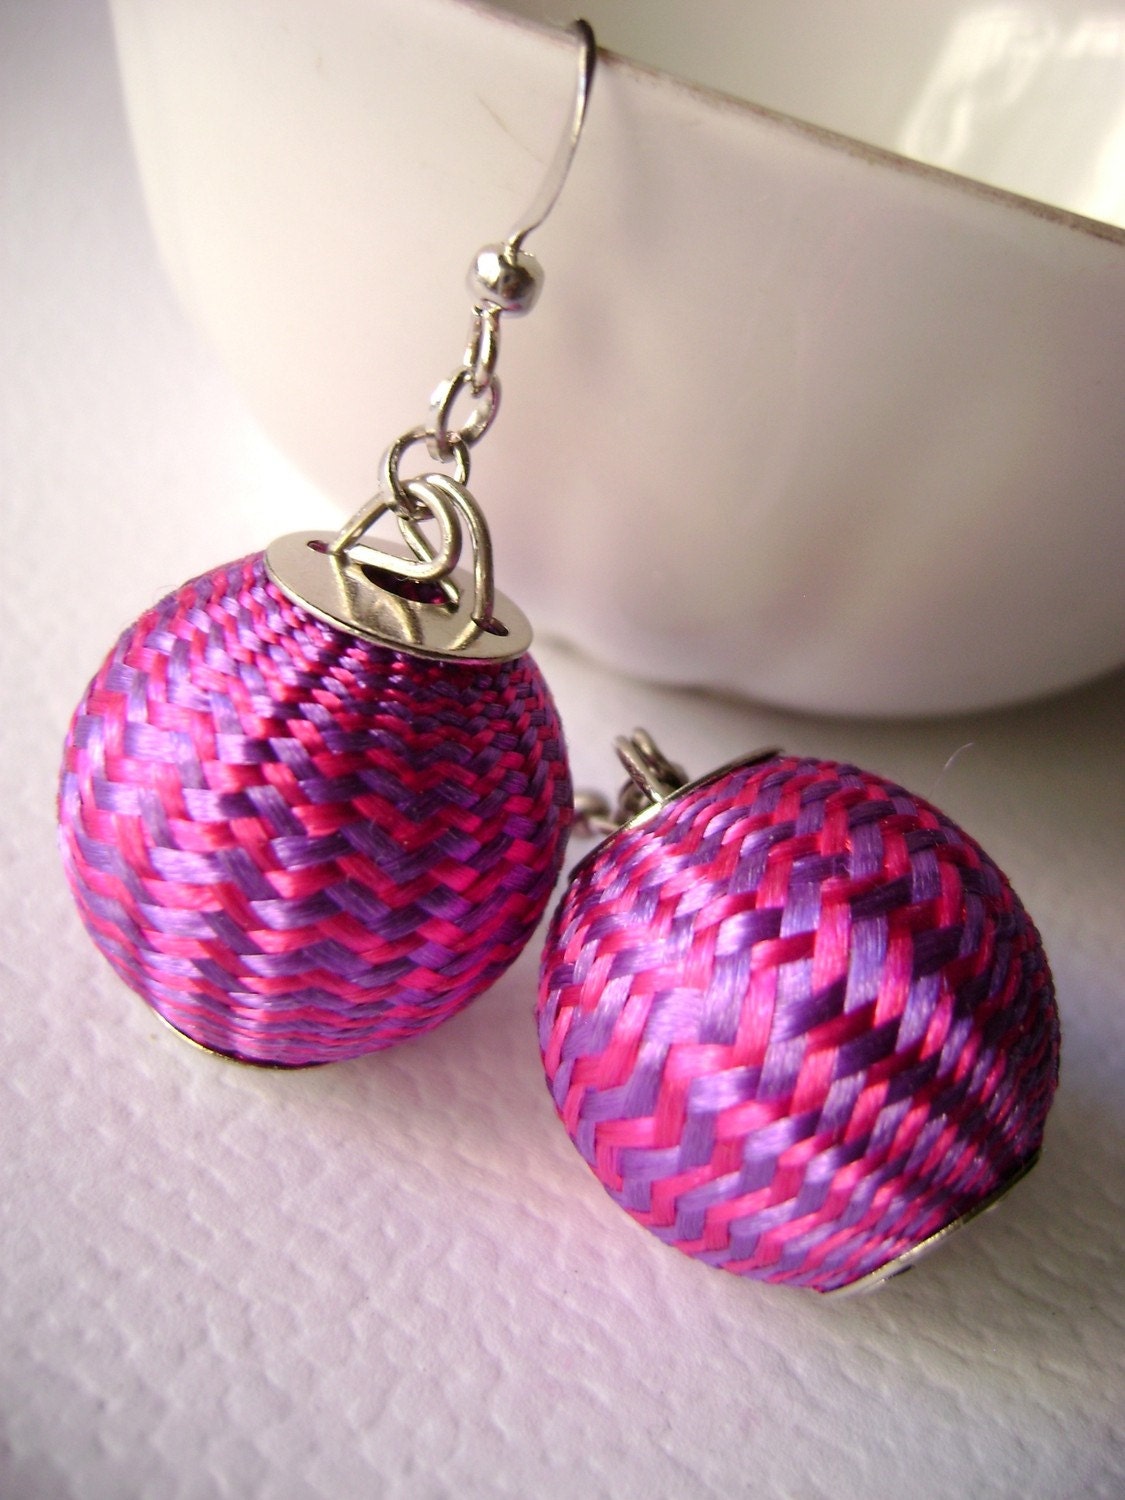 Crazy about you ...... $25.00 |
 Cosmetics Wristlet ... $22.00 |
 Purple and White St... $4.50 |
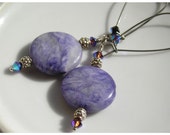 Purple dyed Turquoi... $24.00 |
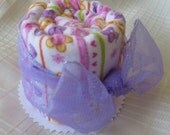 Sweet Rolls - Handm... $9.00 |
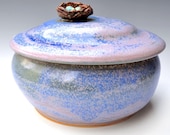 Bird's Nest kee... $34.00 |
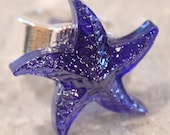 Handmade Glass Irid... $10.00 |
Treasury tool is sponsored by Lazzia.com.
Wednesday, January 26, 2011
Cajun Chicken Pasta Recipe
This recipe is my attempt to make Chili's cajun chicken pasta. Everone in my family loves it. And it's pretty easy which is a plus for me. This is not an exact amount on the chicken and the pasta. You can adjust the amount for larger or smaller family. This is what I use to feed 4 of us.
Ingredients
4 -6 pieces of boneless chicken breast (I use the skinless, boneless frozen breasts)
16 oz. box of penne rigate pasta
cajun seasoning ( I use McCormick)
some olive oil and butter (or whatever oil you prefer to cook the chicken)
Ingredients for the sauce
1 pint of heavy whipping cream
1/2 cup butter
1 1/2 cups of grated parmesan cheese
Thaw the chicken and cut it in bite size strips. Add about a Tablespoon of butter and a little pour of olive oil to a large frying pan. When that is melted and hot (careful not to let the butter get scorched), add the chicken. Sprinkle on some of the cajun seasoning. Cook on about medium till it's done all the way through. As the chicken is cooking, get your pasta water on to boil. Cook the pasta according to package directions. I use most of the box of pasta, you can use however much you need for your family size.
As the chicken and pasta water are going, start a medium saucepan for the sauce. I turn it on low and put the 1/2 cup of butter in to start melting. When the butter is melted I add the heavy cream, whisking it in slowly, then when the butter and the cream are getting hot I slowly add the parmesan cheese, whisking it until it's blended well. I tun the heat up to about medium until it is blended and hot,stirring frequently, then remove from heat. It will thicken some after removing from heat.
When the pasta, sauce and chicken are all cooked and pasta strained, add the sauce to the pan of pasta, mix it in well. ( If you used less pasta you may need to adjust the amount of sauce) You can always divide the sauce recipe in half if you are cooking for just 2. Then put the pasta on a plate, add some chicken to the top of the pasta and sprinkle a little cajun seasoning on top.
We usually have some garlic toast with it.
Tuesday, January 25, 2011
Cute Duct Tape Bows Tutorial
Today I would like to show you how to make duct tape bows. Actually my son is the duct tape artist. So he agreed to share how he makes these cute little bows that could be used for lots of crafty things. In this tutorial he used a hair pin to finish it. These are not to be used for babies as they could be a choking hazard. He has given them to his teenage sister and her friends.
Here's how you do it.
Here's how you do it.
Monday, January 24, 2011
Are We There Yet?
No not yet. I actually have nothing against snow. Unlike most grown ups, I kinda like snow. But here it is, only January and I'm am so looking forward to spring and summer. I am looking forward to sun, gardening, summer produce, being able to go out without wearing 5 layers of clothing. I know you are longing for it too. So today I'm putting up pictures to help us all get through until strawberry pickin' time. What are you looking forward to this summer?
Labels:
butterfly,
dandelions,
fruit,
garden,
picking strawberries,
summer,
sunflower,
swimming
Tuesday, January 18, 2011
Dusting Off The Old Blog
So, it's been a long time since I updated this blog. I have taken some time to re-evaluate, regroup, refresh, re whatever. I spent the summer learning how to grow a garden. It was challenging and enjoyable and I'll be doing it again this spring/summer.
I have renewed my determination to have a successful Etsy shop/craft business. On that note I have been busy making things for my shop and probably a venture into the craft show world. Since it's so cold and I am trying to get a good bit of items into my shop I have been working on lots of fleece hats and scarves. I have had a lot of fleece sitting around here and love working with fleece. (I am all about the comfort) So I will leave you with a few pictures of what I have been working on and I will be updating again soon.
I have renewed my determination to have a successful Etsy shop/craft business. On that note I have been busy making things for my shop and probably a venture into the craft show world. Since it's so cold and I am trying to get a good bit of items into my shop I have been working on lots of fleece hats and scarves. I have had a lot of fleece sitting around here and love working with fleece. (I am all about the comfort) So I will leave you with a few pictures of what I have been working on and I will be updating again soon.
 |
| Brown and Gold Flower Burst Set |
 |
| Black and Red Round Drawstring Bag |
 |
| Shades of Brown Striped Fleece Scarf |
Subscribe to:
Comments (Atom)


